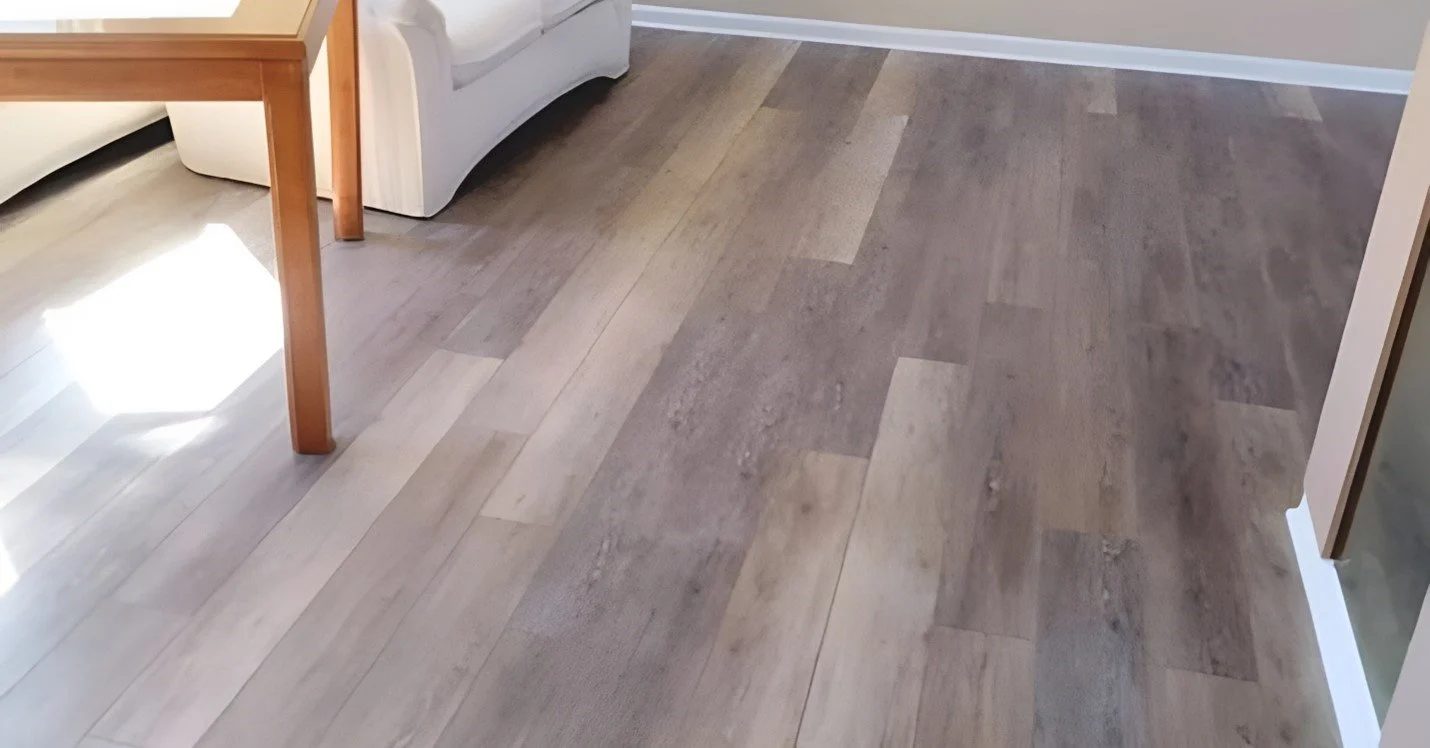
Safe Installation Tips for Heated Tile and LVP Floors
Homeowners and Heated Flooring Requests
Sometimes, a homeowner will request a heating system underneath their soon-to-be luxury vinyl flooring or tile floor. The question arises: What kind of system and how should it be safely installed? I say, safely, because if you damage the wiring system while installing the tile, you, as an installer, have a problem. Some exemplatives may sound off, like: Oh sh** or What the F...
A Cautious Approach to Tile Installation
So my thinking has been to use caution (“an ounce of prevention is worth a pound of cure”). One of the ways I have developed for installing tile over a wiring system on the floor is to spread your mortar on the back of the tile. Be sure to use at least a ⅜ inch notched trowel. This allows for a minimal ⅛ inch bed of set material to support the tiles. This eliminates the risk of having your trowel nick the wire. Also, if one is using the plastic mat that allows for the wire to be secured, you do not unnecessarily waste your thinset, which is gobbled up by the impressions in the mat.
Mortar Direction and Material Quality
Another thing to keep in mind is to have your direction of mortar all going in the same direction. This allows for a proper cure, which is important. In any job, it is advisable to have your mortar in one uniform direction. Please use the correct mortar for the type of tile you are using. It is better to use a better quality mortar than not. You avoid potential problems in the future. And for me, I would rather be once and done than return to fix something that did not hold up.
Choosing and Measuring for a Heating System
Okay, now for the wiring system. I use the “warm wire by Suntouch.” I cannot speak to other systems because Suntouch is the one that is offered by my Wholesaler. When measuring the room, be sure to subtract out any areas that will not be heated (under a vanity, under a toilet are examples). The manufacturer of the system used to ask for 6 inches away from the wall. Now, one can go up to 3 inches away from the wall when installing the wire. So, measure your room, keeping that criterion in mind. Maybe you don’t care to have your heat system that close to the wall. It is a personal choice. (It is better to be shy with your square footage than long.) Why? Because you will have excess wire, and you will have to find a place to fill it into the floor. Sometimes that means backing out all the wiring you have already installed into the floor and starting over with a new layout.
Benefits of Using Plastic Matting
I use the plastic matting because it allows the wire to snap in and protects it from downward pressure, like when walking on the mat. Again, I want to protect the wire.
Testing Wire Conductivity
One of the tools I use (the name I forget) is to check the conductivity of the wire. I do this when taking it out of the box, and then along the way when installing the wire. If the wire is conductive, we are in a good place and can keep moving forward. It would be a shame to have set your tile and then find there was no longer any conductivity.
Installing Heat Sensors for Longevity
Also, a heat sensor comes with the kit. You need that for the system to heat. It can be a good idea to install two heat sensors in the floor. Why? In that way, if one sensor goes out sometime in the future, you can hook up the other sensor without breaking out the tile(s) where the sensors were under. Especially when half of the homes do not have any leftover tiles from that installation.
Hiring a Professional
If you’re looking for a professional tiles installer in boulder who specializes in heated floor installations, it’s always a good idea to reach out to a reliable expert who understands the complexities of both tile and heating system integration.
Final Thoughts
Well, this is a start on some of what you can expect when working with a heated floor system. Until then, be well….

