
Repairing a Damaged Subfloor Around a Toilet: A Practical Guide
Identifying the Problem
So, the matter sometimes comes up from time to time where homeowners will notice a dark discoloration around the base of their toilet or, worse yet, softness around their toilet. Sometimes the discoloration is ignored until a softness starts to develop, and then the email or phone call comes in: “I need the subfloor fixed.” This is a common issue not only during bathroom remodels but also when prepping surfaces for tiles installation in Boulder, or similar upgrades.
Understanding the Cause
Usually, the toilet seal (wax ring) to the floor was compromised, allowing some water to seep out into the surrounding ¾ inch subfloor area every time the toilet is flushed. Over time, the water erodes the integrity and tensile strength of the wood, thereby creating soft flooring.
Removing the Toilet and Shutting Off Water
To fix this, there are a couple of tricks that can be helpful. The first thing is to remove the toilet from the area. This usually entails backing out the toilet flange nuts from the bolts. Also, do shut the water off before removing the compression nut from the shut-off valve. Sometimes the shut-off valve will not completely stop the water (there is a trickle of water that drips). Probably an old valve where the valve does not work anymore. Be mindful not to bear down on the shut-off handle, thinking this will stop the stream of water. It is much better to shut the water off to the whole house and remove the old valve, and then replace it with a new valve. A new valve is around twelve dollars.
Accessing and Cutting the Subfloor
Now we can access the floor and make a small cut out 4x4 inches square. Do not set your saw blade depth any greater than ⅞ inch deep. This keeps our floor joists from getting cut thus weakening them.
Locating Floor Joists
Now, take a tape measure and find the floor joists. By extending the tape below the floor, we can look for one joist to the right and the other to the left. This is helpful in that we now know the location of the supporting joists and can make our subfloor around the joists.
Addressing Joists Under the Tub
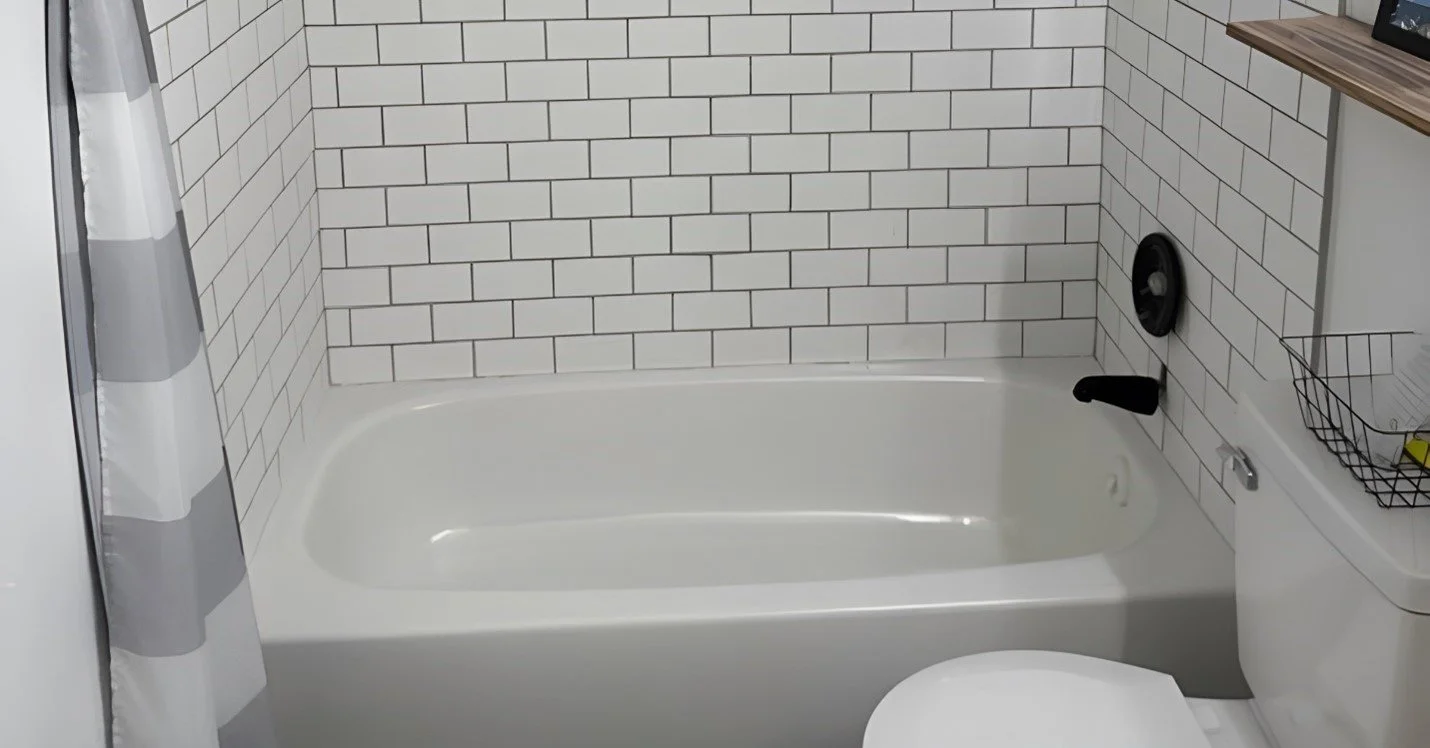
Here is a stickler: “What happens when you find one of the joists running under the tub?” And you need that joist to give the support for the new ¾ inch OSB or plywood. Keep in mind that there is a subfloor under the tub that you are not taking out. The extent of the damaged subfloor is near the tub, but usually does not go under the tub.
I address it this way: After making my cut out of the damaged subfloor, I will then
install a 2x4 joist hanger to the joist running under the tub. Before I do that, I measure the distance between that joist and the one closest to the toilet flange.
Installing Cross Bracing
I cut a length of 2x4 and place the one end into the joist hanger and then I secure the hanger with screws snuggin it up tight to the good subfloor under the tub.
Then I do the same with the other floor joist, mounting the hanger and making sure the top facing of the 2x4 is on the same level as the joist. Essentially, it is a cross bracing that was created between the joists running perpendicular. Now it will have to be done at least one more time, if not a third time, creating support for the new ¾ inch subfloor.
Dealing with the Toilet Flange
As you are looking at the toilet floor flange, you may be wondering how do I get my plywood under the flange. Yes, you will need to do that so you have some wood to secure the flange. Since the flange is attached to the sewer pipe, you cannot easily remove the flange without getting involved in a plumbing project. What I do is measure the diameter of the circular flange, and then I determine the diameter of the drain. If the flange is 7-inch diameter and the pipe is 4-inch diameter, I will decide on a 4.5 to 5-inch diameter. I will then have my seam in the plywood lining up with the center of the floor flange. Determining where the plywood will meet the flange, I cut two semi-circles on each piece of the plywood. This allows me to come in from one side to slide under the flange, and the same is done with the other piece of plywood from the other side. I secure using 2 or 2.5 inch screws to the floor joists.
Ensuring Proper Nailing Area
In this project, it will be mentioned that the joists that are accessible from above and not under a tub are exposed to half of their face, except the middle joist. For example, the joists are 1.5 inches wide, then we cut a ¾ inch reveal, allowing the plywood to have a nailing area (this keeps the adjoining subfloor from having its support). This applies to the joist that is on the other end. So, typically, three joists are needed to secure the new plywood, with the middle joist completely exposed. Hopefully, you can picture this.
Finalizing the Repair
Now, with two pieces of plywood filling in the area that was previously damaged, do you have a ‘good to go’ subfloor ready to accommodate your finished flooring material (tile, LVP installation in Westminster, etc.).